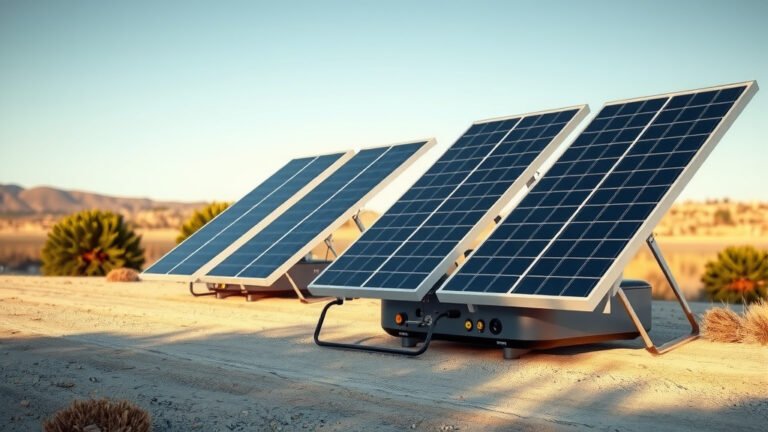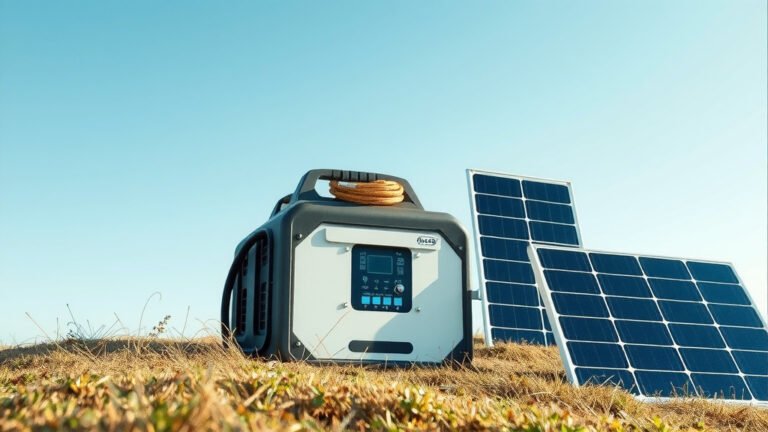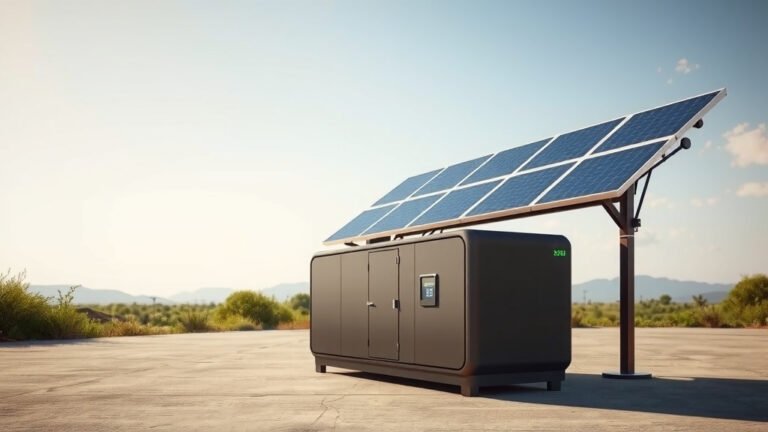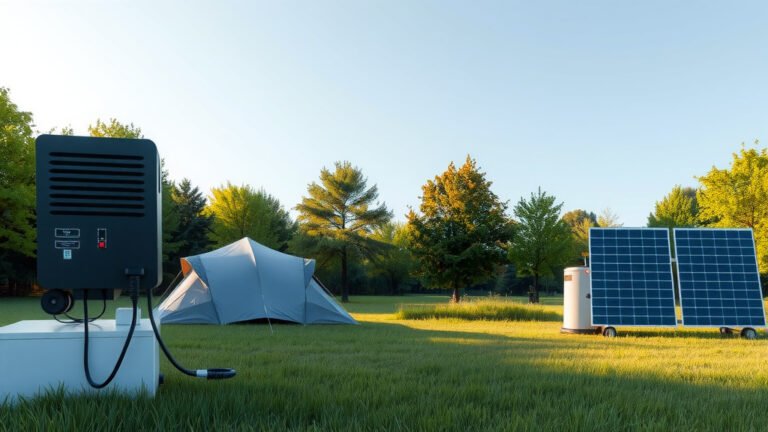
To connect solar panels to portable power station, you need compatible voltage and connector types, plus a charge controller if not built-in.
Most portable power stations accept 12V to 24V solar input through MC4 or barrel connectors, requiring proper wiring and safety checks before connection.
Understanding Your Solar Panel Connection Basics
You’re probably excited to get your solar setup running. I get it! But let’s start with the foundation first.
Your portable power station acts like a big battery bank. Solar panels feed electricity into it during sunny days. Think of it like filling a water tank – the panels are your hose, and the power station is your storage container.
What You Need Before Starting
Before you touch any wires, gather these essentials:
- Your portable power station manual
- Solar panels with known voltage output
- Proper connecting cables
- Basic tools like wire strippers
- Multimeter for testing
Check Your Power Station’s Solar Input Specs
Every power station has limits. You can’t just plug in any solar panel and hope for the best.
Look for these numbers in your manual:
- Maximum solar input voltage (usually 12V-24V)
- Maximum solar input current
- Connector type (MC4, barrel plug, or Anderson)
- Built-in charge controller capacity
Types of Solar Panel Connections
Not all connections are created equal. Let me break down what you’ll likely encounter.
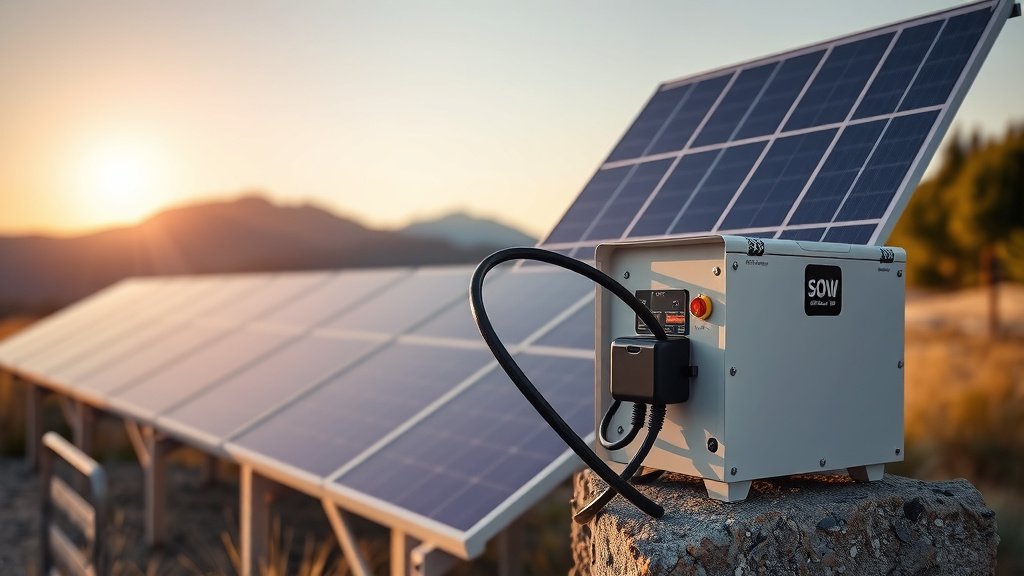
MC4 Connectors
MC4 connectors look like small plastic plugs with metal pins. They’re waterproof and super common on rigid solar panels.
These snap together with a satisfying click. To disconnect them, you need a special tool or some careful wiggling.
Barrel Plug Connectors
Barrel plugs are round connectors that slide into a matching port. They’re simple but not weatherproof.
Many portable solar panels come with barrel plugs because they’re cheap and easy to use.
Anderson Powerpole Connectors
Anderson connectors are rectangular and come in different colors. Red means positive, black means negative.
These handle high current well and stay connected even when bumped around.
Step-by-Step Connection Process
Ready to make the magic happen? Follow these steps carefully.
Step 1: Power Everything Down
Turn off your portable power station completely. Cover your solar panels or keep them in shade while working.
Safety first! You don’t want any unexpected jolts while handling connections.
Step 2: Check Voltage Compatibility
Use your multimeter to test solar panel output. Point the panels toward bright light and measure voltage across the positive and negative wires.
Your reading should fall within your power station’s acceptable range. Too high? You might fry your electronics.
Step 3: Match Your Connectors
Do your solar panel connectors match your power station input? If not, you’ll need adapter cables.
Don’t try to force mismatched connectors together. That’s like trying to put a square peg in a round hole.
Common Adapter Combinations
| Solar Panel Connector | Power Station Input | Adapter Needed |
|---|---|---|
| MC4 | Barrel plug | MC4 to barrel adapter |
| Bare wires | Anderson | Wire to Anderson adapter |
| MC4 | Anderson | MC4 to Anderson cable |
Step 4: Connect Positive to Positive
This seems obvious, but you’d be surprised how often people mess this up.
Solar panels usually mark positive wires with red color or plus symbols. Your power station input should have similar markings.
Step 5: Connect Negative to Negative
Black wires or minus symbols indicate negative connections. Double-check this before moving forward.
Reversing polarity won’t necessarily break things, but it definitely won’t charge your battery either.
Step 6: Secure All Connections
Loose connections create resistance. Resistance creates heat. Heat creates problems.
Make sure every connector clicks, twists, or locks properly into place.
Understanding Charge Controllers
Your power station probably has a built-in charge controller. But what does that actually mean?
What Charge Controllers Do
Think of charge controllers as traffic cops for electricity. They regulate how much power flows from your panels to your battery.
Without them, your battery could overcharge and get damaged. Research from battery manufacturers shows that proper charge control extends battery life by up to 50%.
PWM vs MPPT Controllers
Most portable power stations use MPPT (Maximum Power Point Tracking) controllers. These are smarter than older PWM types.
MPPT controllers squeeze more power from your panels, especially in partial shade or cloudy conditions.
Series vs Parallel Solar Panel Wiring
Got multiple panels? You have two main ways to connect them.
Series Wiring
Series connections link positive to negative between panels. This adds up the voltage while keeping current the same.
Example: Two 12V panels in series give you 24V output.
When to Use Series Wiring
- Your power station accepts higher voltage input
- You want to reduce current and use thinner wires
- Panels will be far from your power station
Parallel Wiring
Parallel connections link positive to positive and negative to negative. This adds current while keeping voltage the same.
Example: Two 12V panels in parallel still give 12V but double the current.
When to Use Parallel Wiring
- Your power station has lower voltage limits
- One panel might get shaded while others don’t
- You want simpler troubleshooting
Safety Considerations
Solar electricity can hurt you if you’re careless. Let’s keep you safe.
Electrical Safety
Solar panels produce electricity whenever light hits them. Even indoor lighting can generate small voltages.
Always assume panels are live. Treat them with the same respect you’d give any electrical device.
Fire Prevention
Poor connections cause most solar fires. Make sure every connection is tight and properly rated for your current.
I found that fire departments report loose solar connections as a growing concern in RV and camping incidents.
Weather Protection
Water and electricity don’t mix well. Use weatherproof connectors for any outdoor installations.
Even if you’re just camping for a weekend, a sudden rainstorm can ruin your equipment.
Troubleshooting Common Connection Problems
Things don’t always go smoothly. Here’s how to fix the most common issues.
No Charging Happening
Check these things first:
- Are panels getting direct sunlight?
- Is your power station actually turned on?
- Do you have solid connections?
- Is the battery already full?
Slow Charging Speed
Partial shade kills solar performance. Even a small shadow on one panel can reduce total output by 50% or more.
Move panels to better locations or clean off any dust and debris.
Error Messages
Your power station might show error codes if something’s wrong. Check your manual for specific meanings.
Common errors include overvoltage, overcurrent, or temperature protection.
Optimizing Your Solar Charging
Want to get the most from your setup? These tips help maximize your solar harvest.
Panel Positioning
Point panels directly at the sun when possible. Even a 15-degree angle off-optimal can reduce power by 10%.
If you’re staying put for several days, adjust panel angle twice daily for best results.
Temperature Management
Solar panels actually work better when they’re cool. Hot panels produce less voltage.
Mount panels with air gaps underneath so heat can escape. This simple trick can boost performance by 5-10% on hot days.
Maintenance and Care
Your solar connection system needs occasional attention to keep working well.
Regular Cleaning
Dust, bird droppings, and tree sap block sunlight. Clean panels monthly with soap and water.
Don’t use harsh chemicals or abrasive materials. A soft cloth and gentle cleaner work best.
Connection Inspection
Look for corrosion, loose wires, or damaged connectors every few months. Salt air and humidity speed up deterioration.
Replace any questionable components before they fail completely.
Conclusion
Connecting solar panels to your portable power station opens up incredible freedom. You can camp longer, work remotely, or stay prepared for power outages without relying on the grid.
Start with proper voltage matching and compatible connectors. Take your time with connections and prioritize safety over speed. With good equipment and careful setup, your solar system will provide reliable power for years to come.
Remember that practice makes perfect. Your first connection might feel intimidating, but each setup gets easier. Soon you’ll be helping other people figure out their solar puzzles too.
Can I connect any solar panel to my portable power station?
No, you need to match voltage and current specifications. Most portable power stations accept 12V to 24V input, but check your manual for exact limits before connecting anything.
What happens if I reverse the positive and negative connections?
Most modern power stations have reverse polarity protection, so nothing dangerous will happen. But your battery won’t charge either. Always double-check wire colors and connector markings before powering up.
How many solar panels can I connect to one portable power station?
This depends on your power station’s maximum solar input rating. You can connect multiple panels in series or parallel as long as you stay within voltage and current limits specified in your manual.
Do I need a separate charge controller for my solar panels?
Most portable power stations have built-in charge controllers, so you don’t need an external one. Adding a second controller could actually interfere with proper charging, so stick with the built-in system.
Why is my solar charging slower on cloudy days?
Solar panels need direct sunlight to produce full power. Clouds can reduce panel output by 50-90% depending on thickness. Your power station will still charge, but much more slowly than on bright, clear days.