
To charge a camping power station with solar panels, you typically connect the solar panels directly to the power station’s input port using a compatible cable. We found that the power station then converts the solar energy into usable electricity, storing it in its internal battery. This allows you to power your devices sustainably, even off-grid.
Camping power stations offer a fantastic way to keep your gadgets running when you’re away from traditional outlets. Pairing them with solar panels creates a self-sufficient charging system. You can recharge everything from phones and laptops to portable fridges using clean, renewable energy from the sun. Is there anything better than free power in the wilderness?
- Connect solar panels to your power station’s input.
- Ensure voltage and wattage compatibility.
- Position panels for direct sunlight exposure.
- Monitor the charging progress on your power station.
- Store panels and power station safely when not in use.
Ready to harness the sun’s power for your next adventure? Let’s walk through exactly how to set up your solar charging system step by step, ensuring you stay powered up wherever you roam.
Setting Up Your Solar Charging System for Off-Grid Adventures
Transforming sunlight into usable power for your camping adventures is simpler than you might think. We’ll guide you through each step, ensuring you have a reliable energy source wherever your travels take you.
Understanding Your Gear: Power Station and Solar Panels
Before you start charging, it’s really helpful to know a little about your equipment. No two power stations or solar panels are exactly alike. Understanding their basic features ensures a smooth charging process.
Power Station Basics: What You Need to Know
Your camping power station is like a big, portable battery. It has different input ports and output ports. The input port is where the solar energy goes in. We found that most power stations clearly label their ports, making this straightforward.
Look at your power station’s manual or product description. You’ll want to find its solar input specifications. This includes the acceptable voltage range (V) and sometimes the maximum wattage (W) it can handle. Exceeding these limits can damage your power station, so it’s a critical detail.
Solar Panel Overview: Types and Features
Solar panels come in various forms, but for camping, you’ll likely encounter two main types: portable folding panels and rigid panels. Folding panels are super convenient for travel. They usually include a built-in kickstand for easy positioning.
Each solar panel has an output voltage and wattage rating. You need to match these with your power station’s input requirements. Don’t worry, we’ll explain how to ensure compatibility in the next section. Many panels also come with different connector types, which is another important consideration.
Ensuring Compatibility: Matching Panels to Your Power Station
This is arguably the most important step. Mismatched equipment can prevent charging or even harm your devices. Let’s make sure everything plays nicely together.
Voltage and Wattage: The Golden Rules
Think of voltage like water pressure and wattage like the total flow. Your power station needs sunlight coming in at the right “pressure” and “flow rate.” We found that most manufacturers list recommended solar input specifications clearly in their product manuals. Always check these first.
- Voltage (V): Your solar panel’s output voltage must fall within your power station’s accepted input voltage range. If the panel’s voltage is too low, it won’t charge. If it’s too high, it could cause damage.
- Wattage (W): The total wattage of your solar panels shouldn’t exceed your power station’s maximum solar input wattage. Connecting too many panels won’t necessarily charge faster; it might just overwhelm the system or go unused.
Many power stations have a built-in MPPT (Maximum Power Point Tracking) controller. This clever bit of tech optimizes the power coming from your panels. It helps get the most efficient charge possible, even in changing light conditions. Most modern camping power stations include this feature (National Renewable Energy Laboratory).
Connector Types: Making the Right Connection
Solar panels and power stations use different connectors. Common types include MC4, Anderson, and DC barrel jacks. It’s like needing the right plug for an outlet. Your power station will likely have one or more specific input ports.
| Connector Type | Common Use | Key Feature |
|---|---|---|
| MC4 | Larger solar panels, often chaining panels | Weatherproof, locking mechanism |
| Anderson | Portable solar panels, some power stations | Color-coded, quick connect/disconnect |
| DC Barrel Jack | Smaller solar panels, many power stations | Common, multiple sizes (e.g., 8mm) |
If your panel and power station have different connector types, you’ll need an adapter cable. These are widely available and relatively inexpensive. Just ensure the adapter is correctly wired for solar charging and matches the male/female ends of your existing cables.
Step-by-Step Guide: Connecting and Charging
Now that you know your gear is compatible, let’s get down to the actual charging process. It’s often quicker and easier than you might anticipate!
Optimal Panel Placement for Maximum Sun
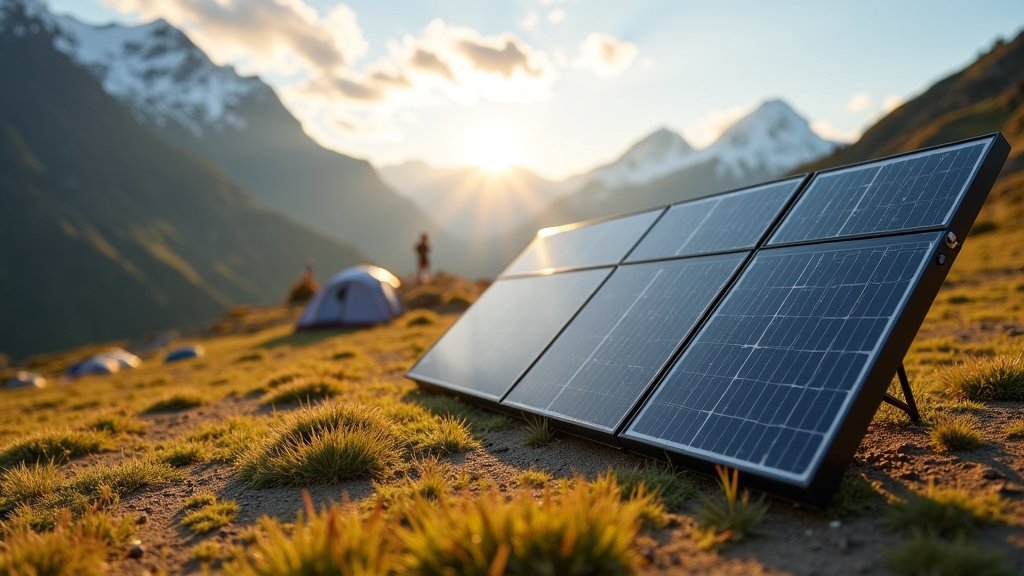
Finding the perfect spot for your solar panels is key to efficient charging. You want direct, unobstructed sunlight. We found that even partial shade can dramatically reduce charging efficiency. Think about it like a garden hose; a kink in the hose limits the water flow, and shade limits the power flow.
- Face South: In the Northern Hemisphere, angle your panels towards the south. For those in the Southern Hemisphere, face them north.
- Angle for Efficiency: Aim for an angle roughly equal to your latitude for peak performance during midday. If you don’t know your latitude, a good general rule is to have them angled so the sun hits them straight on around noon. You can adjust this throughout the day.
- Avoid Obstacles: Trees, tents, or even small shadows from leaves can drastically cut down on power generation.
- Clean Panels: A dusty panel is a less efficient panel. Give them a quick wipe if they’re visibly dirty.
Try to reposition your panels every few hours as the sun moves across the sky. Little adjustments can make a big difference in how quickly your power station charges.
Connecting Your Solar Panels to the Power Station
With your panels ideally positioned, it’s time to connect everything. Lay out your solar panels and extend any necessary cables. We always recommend doing this in a clear, open area.
- Connect Panels (if chaining): If you have multiple solar panels, connect them together first in either a series or parallel configuration. Many portable panels come with built-in series or parallel cables, making this simple. Always refer to your panel’s instructions for the correct wiring.
- Connect to Adapter Cable (if needed): Attach any necessary adapter cables (e.g., MC4 to Anderson) to your solar panel output cable.
- Connect to Power Station: Plug the final cable into your power station’s designated solar input port.
Your power station should almost immediately indicate that it’s receiving a charge. Many models show an input wattage display, so you can see the amount of power coming in. It’s quite satisfying to watch!
Monitoring and Optimization: Getting the Most From Your Sun
Once connected, don’t just set it and forget it. A little monitoring can help you maximize your charging speed.
Understanding Your Power Station’s Display
Your power station’s display is your window into its performance. We found that most displays show at least three key pieces of information when charging via solar:
- Input Wattage: This tells you how much power your panels are currently generating and sending to the power station. A higher number means faster charging.
- Battery Percentage: Shows you the current charge level of your power station’s internal battery.
- Estimated Time to Full: Some advanced power stations will even estimate how long it will take to reach a full charge at the current input rate.
If your input wattage seems lower than expected, it’s often a sign that your panels need repositioning or are partially shaded. A slight adjustment could significantly boost your charging speed.
Tips for Faster Charging and Efficiency
You want your power station to charge up as fast as possible, right? Here are a few ways to boost efficiency:
- Follow the Sun: Periodically adjust your panels to keep them directly facing the sun. This is the single most effective way to increase input wattage.
- Keep Them Clean: Dust, pollen, and dirt can accumulate on your panels, reducing efficiency. A quick wipe with a damp cloth can help.
- Avoid Overheating: Ensure good airflow around both your solar panels and your power station. While less common, extreme heat can slightly reduce the efficiency of some electronics.
- Chain More Panels (within limits): If your power station and budget allow, adding more compatible panels can increase your total input wattage, speeding up the charge. Always stay within your power station’s maximum input wattage and voltage limits.
Camping Solar Charging Checklist
Before you head out on your next adventure, use this quick checklist to ensure you’re ready to harness the sun’s power.
- Verify solar panel output voltage and wattage are compatible with power station input.
- Confirm all necessary cables and adapters are on hand and in good condition.
- Fully charge your power station from a wall outlet before leaving home.
- Practice connecting your solar panels to your power station once at home.
- Pack a soft cloth for cleaning solar panels and checking connections.
- Research sun angles for your camping location to help with panel placement.
By following these steps, you’ll feel confident using solar power to keep your devices ready for anything your off-grid adventures might bring. It’s a wonderful feeling to be self-sufficient, all thanks to a little sunshine!
Conclusion
Charging your camping power station with solar panels offers true freedom. You’ve walked through understanding your gear, ensuring compatibility, and setting up your system. Remember, a little preparation goes a long way in harnessing the sun’s clean energy. By following these steps, you’re not just charging devices; you’re creating a reliable, sustainable power source for all your outdoor adventures.
Now, take what you’ve learned and confidently set up your solar charging system. Enjoy endless power on your next camping trip!
Frequently Asked Questions
Can I leave my solar panels connected to my power station overnight?
Yes, you can typically leave your solar panels connected overnight. Most modern power stations have built-in charge controllers that prevent overcharging and manage power flow. They will simply stop receiving power when the sun goes down.
How long does it take to fully charge a power station with solar panels?
Charging time varies a lot. It depends on the size of your power station’s battery, the wattage of your solar panels, and how much direct sunlight you get. A small power station with high-wattage panels in full sun will charge much faster than a large one with small panels on a cloudy day.
Do solar panels still work on cloudy days?
Solar panels do work on cloudy days, but their efficiency is significantly reduced. They will still generate some power from diffused sunlight, but you can expect charging to be much slower than on a bright, sunny day. We found that partial sun can drop output by 50% or more.
Can I use solar panels from different brands together?
Generally, yes, as long as their voltage and wattage are compatible with your power station’s input specifications. However, we recommend consulting your power station’s manual. Mixing panel types might require special adapter cables or configurations to ensure optimal performance and safety.
What’s the best way to clean my solar panels for camping?
For camping, a quick and effective way to clean your panels is with a soft, damp cloth or sponge. Wipe away any dust, dirt, or debris. Avoid harsh chemicals or abrasive materials, which could scratch the panel surface and reduce efficiency.
