
To hook up solar panels to a portable power station, you connect the solar panel’s output cable directly to the power station’s solar input port. Most stations use standard connectors like MC4 or Anderson Powerpole. You need to make sure the voltage and wattage align between your panels and the power station for safe and efficient charging.
This setup allows you to generate your own clean electricity for camping, emergencies, or just off-grid living. It’s a fantastic way to keep your devices charged without relying on the grid. We found that portability and ease of use make this a popular energy solution for many folks.
- Connect solar panels to your portable power station easily.
- Ensure voltage and wattage match for safety.
- Generate eco-friendly power anywhere.
- Great for camping, outages, or off-grid use.
Ready to ditch the wall outlet? Let’s walk through exactly how to get your solar panels feeding power to your portable station, step by step.
Connecting Solar Panels to Your Portable Power Station
Connecting solar panels to a portable power station is simpler than you might think. It lets you create an independent power source for your devices. This setup is perfect for remote locations or unexpected grid outages.
We’ll walk you through the essential steps and considerations. You’ll be charging almost anywhere in no time.
Understanding Your Gear: Panels and Power Stations
Before you hook anything up, it’s good to know what you’re working with. Think of it like making sure your puzzle pieces fit together. Your solar panels capture sunlight. Your power station stores that energy for later use.
Solar Panel Basics
Solar panels come in various sizes and power outputs. They convert sunlight into direct current (DC) electricity. You’ll see terms like wattage (W) and voltage (V) to describe their output.
- Wattage (W): This is how much power your panel can produce. Higher wattage means faster charging.
- Voltage (V): This is the electrical “pressure” from the panel. It needs to match your power station’s input requirements.
- Amperage (A): This is the flow of electricity. Wattage = Voltage x Amperage.
Many popular panels are foldable. This makes them easy to transport for camping or RV trips. Flexible panels can even be curved to fit uneven surfaces.
Portable Power Station Basics
Portable power stations are essentially large batteries with multiple output ports. They have a solar input port specifically for connecting solar panels. This port usually includes a charge controller.
- Input Voltage Range: This tells you the minimum and maximum voltage your station can accept from solar panels.
- Input Current Limit: This specifies the maximum amperage your station can handle.
- Maximum Input Wattage: This is the total power your station can take from solar panels. Don’t exceed this.
These stations often convert the incoming DC power into AC power. This lets you plug in standard household devices. We found that most stations clearly label their solar input specifications in their user manuals.
Matching Your Solar Panels to Your Power Station
This is the most important step for safe and efficient charging. Mismatched components can cause slow charging or even damage your equipment. It’s like trying to put diesel in a gasoline car – it just won’t work right (Many experts say this is a common mistake).
Voltage Alignment
Your solar panel’s open-circuit voltage (Voc) should fall within your power station’s input voltage range. If your panel’s Voc is too high, it could overload the station. If it’s too low, the station might not even begin charging.
Most portable power stations are designed for solar panels with a Voc between 12V and 60V. Always check your power station’s manual for the exact recommended range. We can’t stress this enough.
Wattage Compatibility
While voltage is critical, wattage also plays a role. If your total solar panel wattage exceeds your power station’s maximum input wattage, the station will only draw up to its limit. The extra panel wattage simply won’t be used. It’s like trying to pour a gallon into a half-gallon jug.
Aim for a total solar panel wattage that is at or slightly below your power station’s maximum input. This ensures optimal performance without wasting power generation capability. For example, if your station accepts 100W, a 100W panel is ideal. A 200W panel would still only provide 100W.
Connecting Your Components: A Step-by-Step Guide
Once you’ve confirmed compatibility, connecting is straightforward. You typically need just a few simple steps. No need for complex wiring diagrams here.
Step 1: Position Your Solar Panels
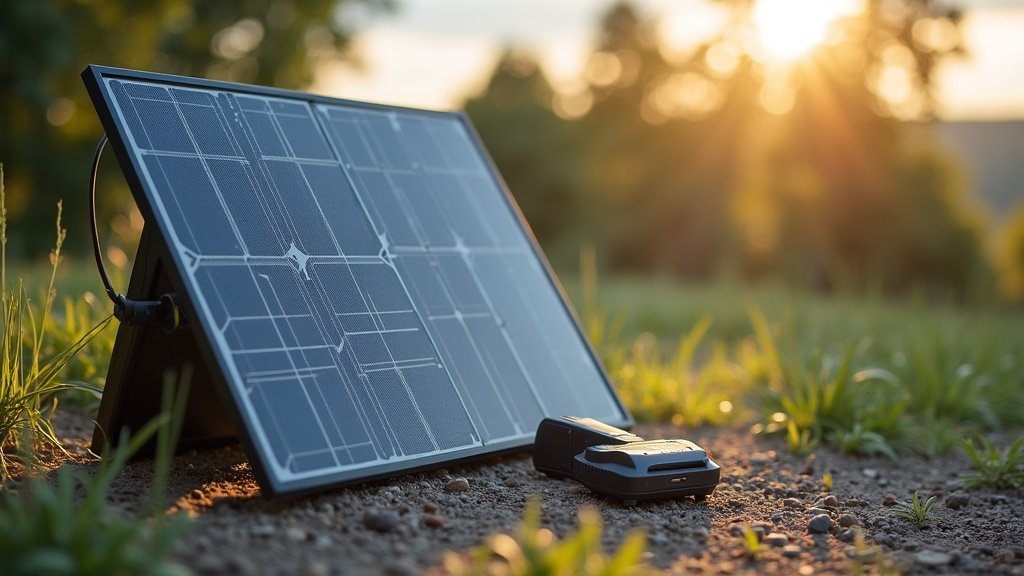
Find a spot where your panels get plenty of direct sunlight. The more sun, the more power. Angle them towards the sun for best results. Think about the sun’s path throughout the day.
Avoid shaded areas. Even a small shadow can significantly reduce output. Remember, moving them throughout the day can optimize your charge.
Step 2: Identify the Right Connectors
Most solar panels use MC4 connectors. Most portable power stations use either MC4, Anderson Powerpole, or a proprietary charge port (like a DC5521 or 8mm barrel connector). You’ll likely need an adapter cable to bridge the gap.
| Connector Type | Common On | Description |
|---|---|---|
| MC4 | Solar Panels, Extension Cables | Weatherproof, locking, standard for solar. |
| Anderson Powerpole | Portable Power Stations, RVs | Easy to connect/disconnect, color-coded, often on older models. |
| DC 8mm (Barrel) | Goal Zero, Jackery Power Stations | Circular plug, common for DC inputs. |
| DC 5521 (Barrel) | Smaller Power Stations, LED Lights | Smaller circular plug, less common for main solar input. |
Your adapter cable will have MC4 connectors on one end (to connect to your solar panel) and the appropriate connector for your power station on the other. Double-check what your power station uses.
Step 3: Make the Connection
Connect your solar panel’s output cable to the MC4 end of your adapter cable. Then, plug the other end of the adapter cable into the solar input port on your portable power station. Listen for a click on MC4 connections to ensure they are secure.
It’s generally recommended to connect the panel to the adapter first, then the adapter to the power station. Disconnect in the reverse order. This helps prevent accidental short circuits.
Step 4: Confirm Charging
Once connected, your power station should indicate it’s receiving a charge. Look for a charging indicator light or a display showing incoming wattage. Many stations will display “Input W” or a similar reading.
If it’s not charging, recheck all connections. Make sure your panels are in direct sunlight. Also, confirm that your voltage and wattage are within the station’s limits. Patience, sometimes the initial connection takes a moment to register.
Optimizing Your Solar Charging Setup
You’ve got it connected, but how do you get the most out of your setup? A little optimization goes a long way. Think of it like tuning a guitar; it sounds better when everything is just right.
Panel Orientation and Angle
The angle of your solar panels makes a huge difference. Facing them directly at the sun maximizes power output. In the northern hemisphere, this often means tilting them south. In the southern hemisphere, you’d tilt them north.
Adjusting throughout the day can literally double your energy harvest. Some folks use solar trackers, but for portable setups, manually adjusting a few times is often sufficient.
Extending Your Reach with Cables
Sometimes you need your panels in the sun but your power station in the shade. That’s where extension cables come in. MC4 extension cables are readily available.
However, be aware that long cables can lead to voltage drop. This means less power reaches your power station. Try to use the shortest practical cable length. Larger gauge wires (smaller AWG number) lose less power over distance.
Troubleshooting Common Solar Charging Issues
Even with careful setup, sometimes things don’t go as planned. Don’t worry, most issues are easy to fix. It’s usually a simple oversight.
My Station Isn’t Charging!
This is the most frequent issue we hear. Here’s a quick checklist:
- Check Sunlight: Are your panels in full, direct sun? Even a partial shadow can stop charging.
- Verify Connections: Are all cables firmly plugged in? MC4 connectors should click.
- Review Compatibility: Does your panel’s voltage and wattage match your station’s input specs?
- Inspect Cables: Are there any visible kinks or damage to the cables?
- Clean Panels: Is there dirt, dust, or debris on the panel surface?
Sometimes a simple unplug and replug can resolve a finicky connection. Many issues boil down to the simplest solution.
Slow Charging Performance
If your station is charging but very slowly, several factors could be at play. We found that optimizing your angle helps a lot.
Beyond angling, check the temperature. Extreme heat can reduce solar panel efficiency. Also, ensure no cables are excessively long or too thin, as they can cause voltage drop, slowing down the charge.
Conclusion
Connecting solar panels to your portable power station offers incredible freedom. You can produce your own clean energy wherever you are. By understanding your gear and ensuring compatibility, you set yourself up for success. We’ve seen firsthand how liberating this setup can be.
Always double-check your voltage and wattage specs before connecting. Set up your panels optimally, and you’ll keep your devices charged off-grid. Now, go enjoy the power of portable solar! We’re confident you’ll find it a genuinely useful tool.
Frequently Asked Questions
Can I use any solar panel with any portable power station?
No, not all solar panels are compatible with all power stations. You must match the solar panel’s voltage and wattage to the power station’s input specifications. We always recommend checking both product manuals carefully.
Do I need a charge controller if my power station has a solar input?
Most portable power stations have a built-in charge controller in their solar input port. This means you typically don’t need a separate external controller. However, confirm this in your power station’s manual; some older or simpler models might require one.
What kind of weather affects solar panel charging?
Direct, clear sunlight is best for charging. Cloudy days, rain, snow, or even heavy haze will significantly reduce your solar panel’s output. Extreme heat can also slightly decrease efficiency, though cold doesn’t usually affect it negatively.
Can I connect multiple solar panels to one portable power station?
Yes, often you can connect multiple panels. You’ll need to wire them in series or parallel, depending on your power station’s input limits and connector types. Make sure the combined voltage and wattage do not exceed your power station’s maximum input.
How long does it take for solar panels to charge a portable power station?
Charging time varies greatly based on the power station’s battery capacity, the wattage of your solar panels, and the amount of sunlight. A 100W panel might charge a 500Wh station in 5-10 hours of ideal sunlight. Larger stations and smaller panels will take longer.
